How can we help?
How to select files/folders to backup in your Data Deposit Box Backup
This article explains how to backup particular folders into your Data Deposit Box Backup using the My Data Portal. Follow these steps:
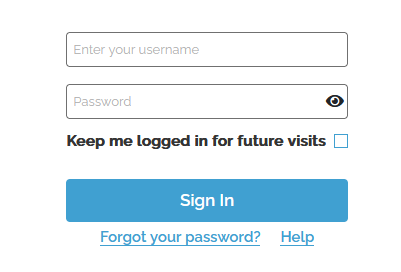
- Log in to the My Data Portal using your Data Deposit Box Backup credentials.
- On the dashboard, scroll down to the Device List.
- Click Manage next to the system from which you wish to add or remove files/folders. (Note: The system must have the status: Connected)
- Click Device to view the local machine


- In the My Files section, navigate to the file/folder you want to backup.
- Select the file/folder you want to backup by clicking on the checkbox next to it.
- Click on the
to add the file/folder to your backup or the
to remove the file/folder from the backup or exclude from backup. (Note: The icons will appear at the top of the My Files section). An icon may be disabled if the action doesn’t apply to the folders and files you checked.
- Once you have selected all the correct files/folders, you can save the changes by clicking on the Save button in the popup window.


In the Backup Selection section here you can see your selected files and folders for backup as well as any excluded folders from backup. You can click the next to the selection or exclusion either removing the selection or the exclusion from the backup.
