How to use Cloud Drive Backups.
The Cloud Drive is an online space where you can drag and drop files from your device. You can use it as a storage space to keep valuable data that is not part of your regular backup selection. This article explains how to Cloud Drive Backups using the My Data Portal.
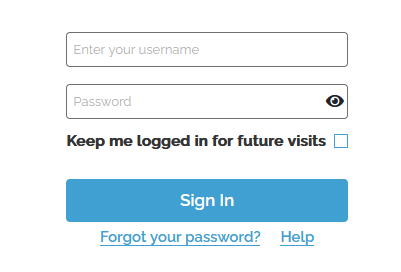
- Log in to the My Data Portal using your Data Deposit Box Backup credentials.
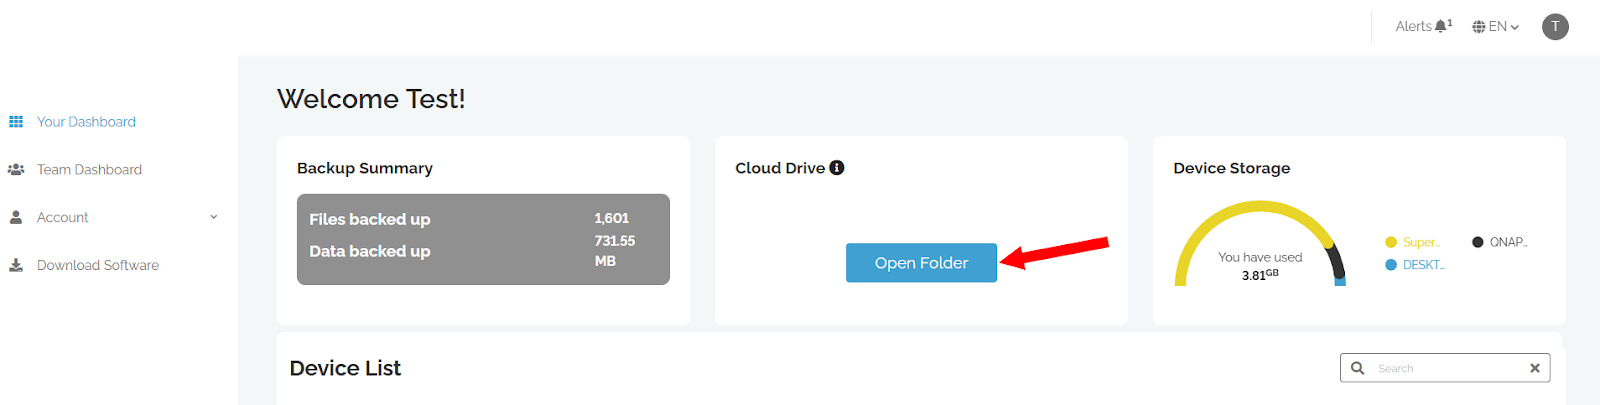
- On the dashboard, Click the Open Folder to access your Cloud Drive.
From the Cloud Drive Dashboard you can do the following:
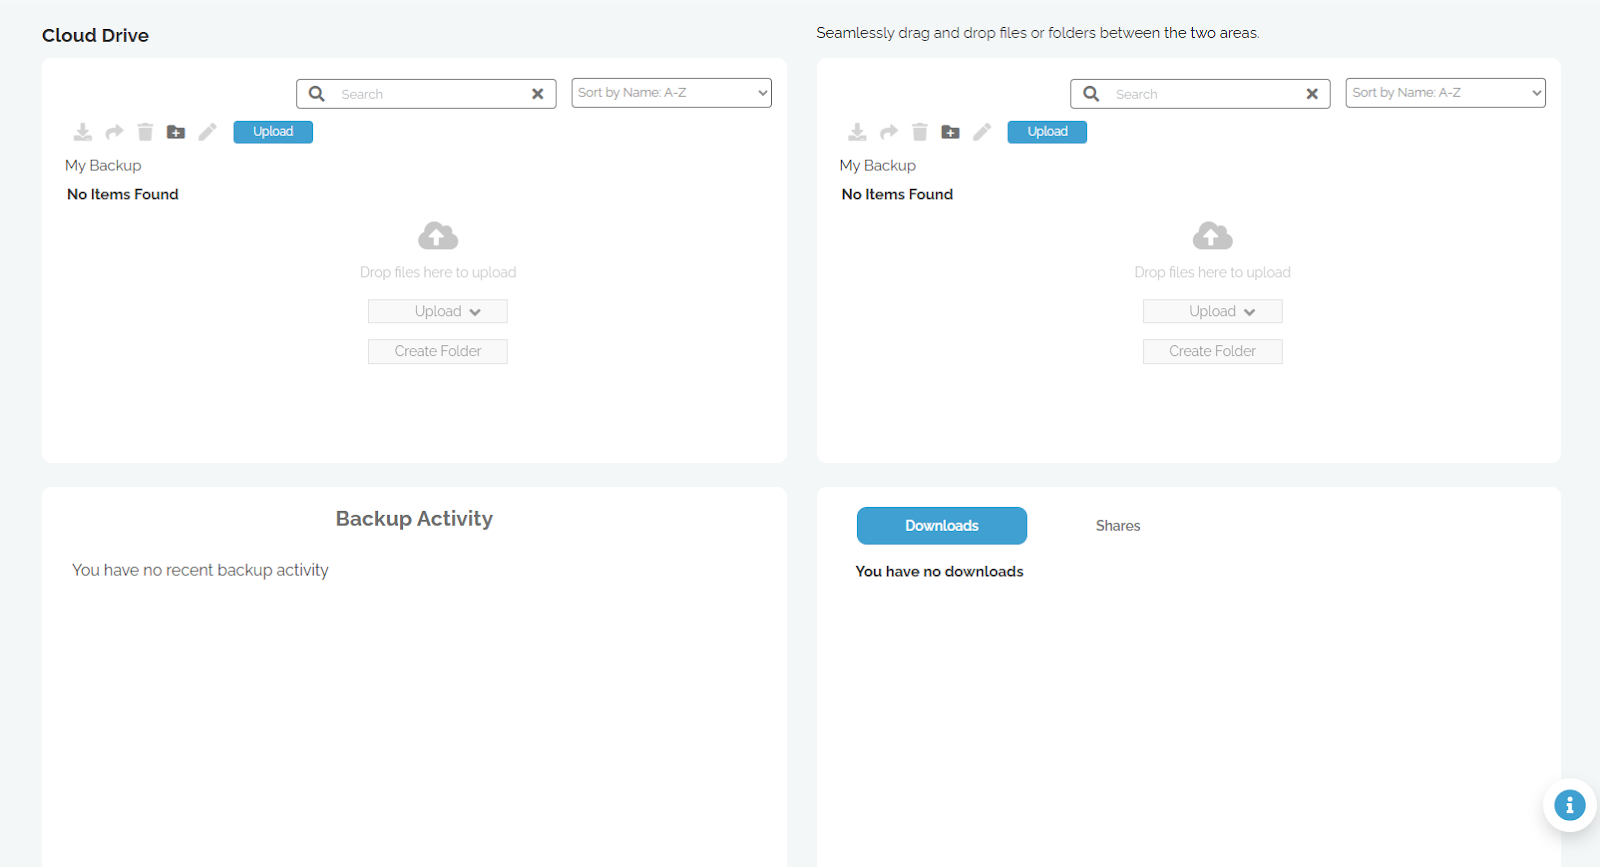
Upload Files/Folder
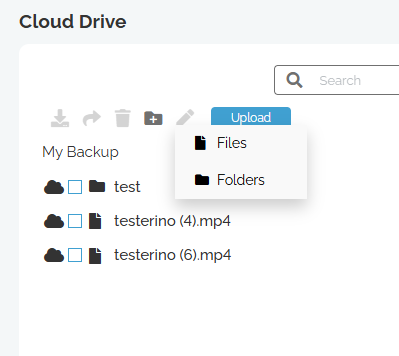
Using the Upload button you can choose to upload files or folders directly from your system to the cloud. You can also Drag and Drop files from folders on your system directly onto the browser into your cloud drive.
Using the two windows you can move data to new locations on your cloud drive simply by dragging and dropping between the windows.
Create Folder
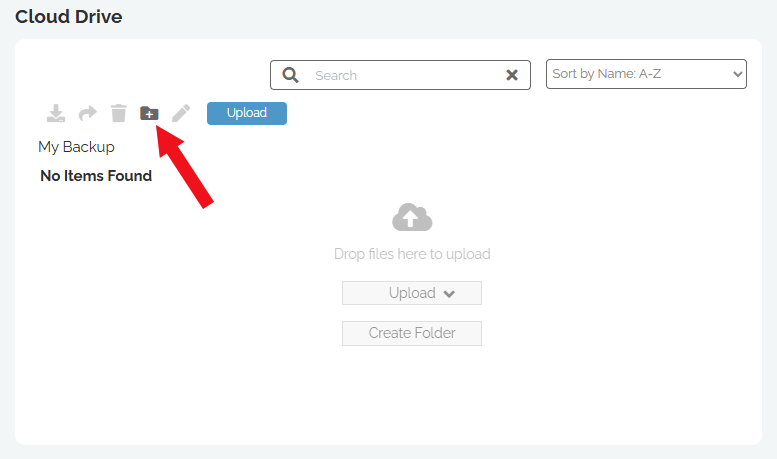
Click the icon to create a folder if your cloud drive.
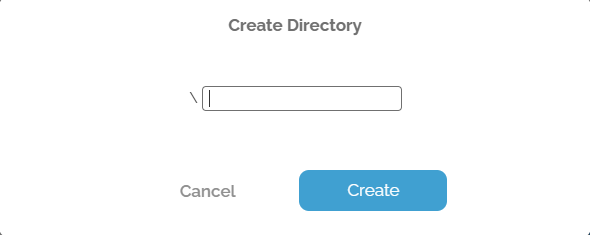
Enter the name for the folder and click Create.
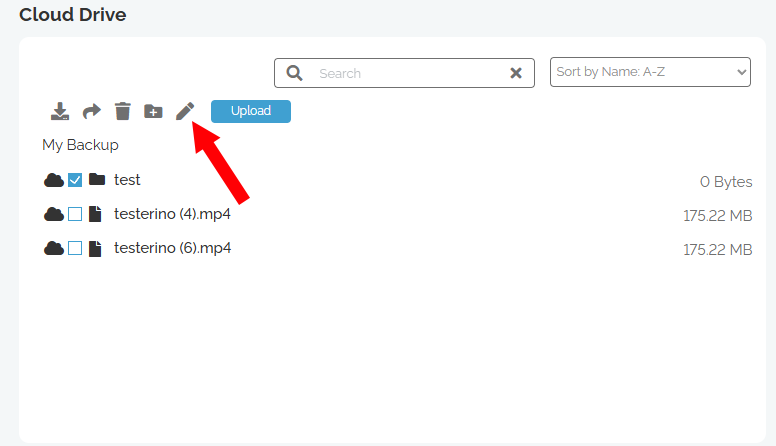
Edit File/Folder Name
Select the file or folder you want to rename and click the icon
Enter the new name and click Rename when done
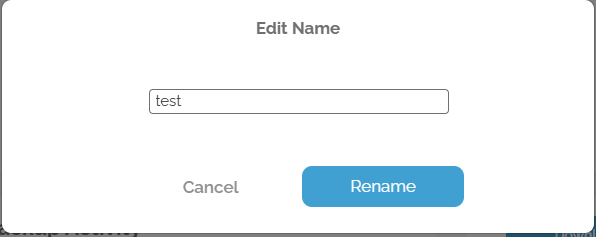
Note: Can not be done while uploading data
Restore Data
Select the files/folders you wish to restore by clicking on the checkbox next to them.
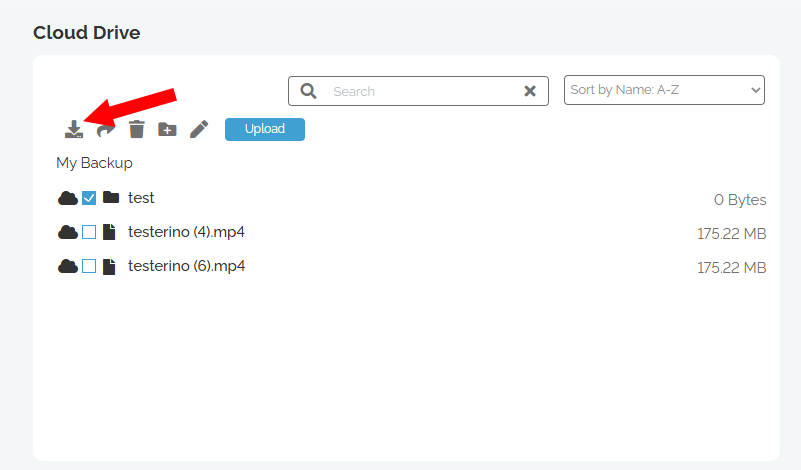
Click on the download button () that is on the top of the My Files section.
On the popup window, select the date you want to restore the data from using the calendar option. This is useful if you do not want to restore the most recent version of the files, but instead want to restore older versions.
Review the files/folders to be downloaded. You can click on the X to remove any folder/file from the download selection.
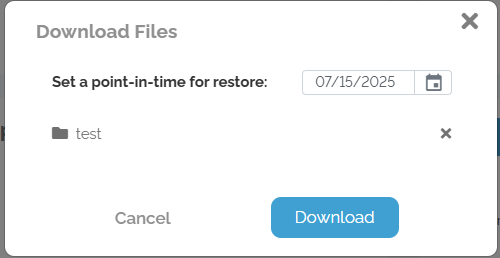
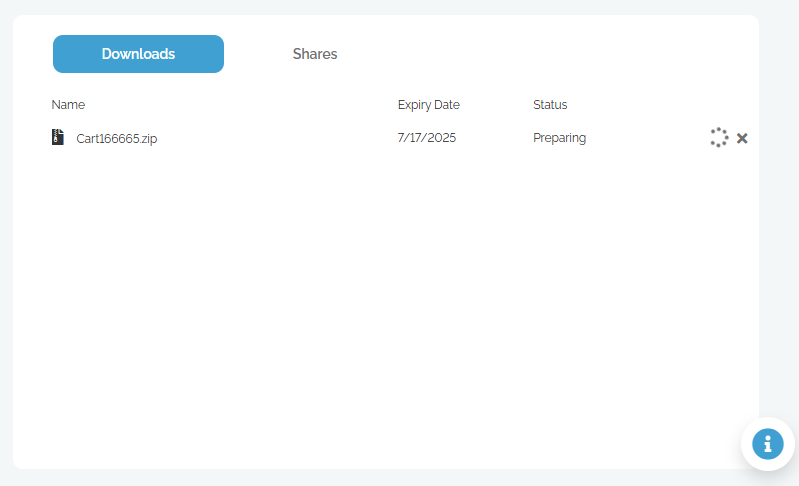
When ready, click on the Download button to start creating your cart file, which will be found in the Download section (bottom right side of the page).
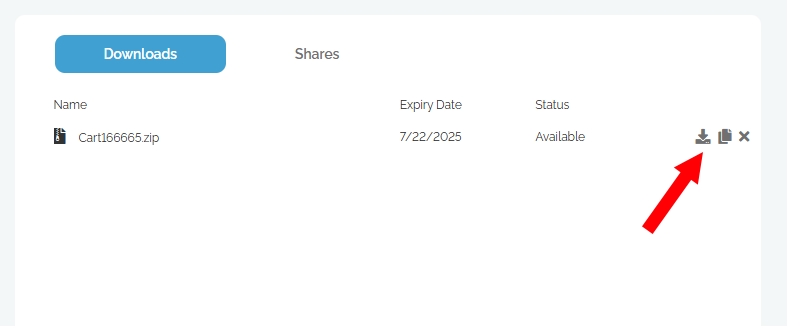
When the file is available, click on the download button.
Note: if you wish to use a download manager to download the backup you can get the download link by clicking the copy icon .
Share Data
On the Device page navigate to the folder/files you want to share and check the file/folder and click icon.
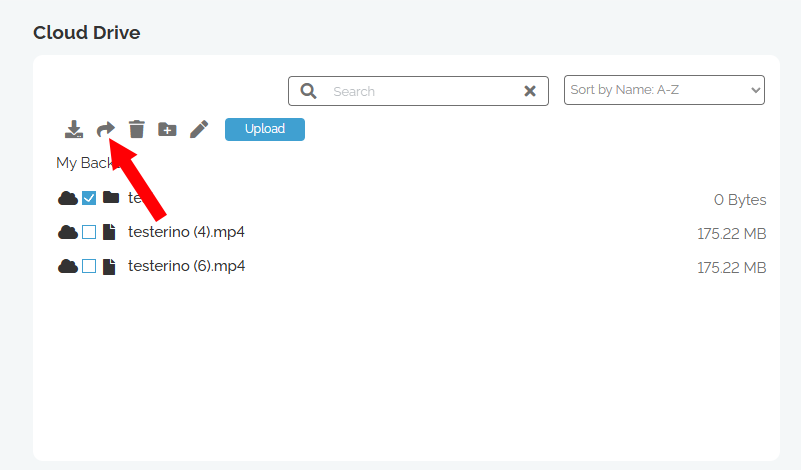
Note: Make sure you are on the cloud backup page for the system (See image above)
Next select which options you would like to use to share the data:
Password Protect- Create password required for the recipient to download the data.
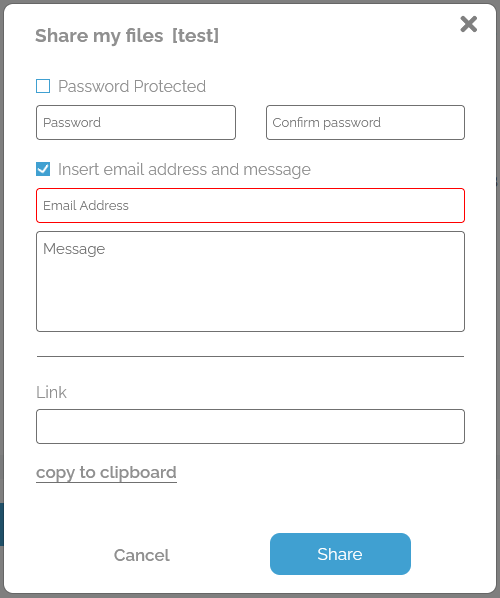
Insert Email address and message – Email the generated link to the recipient directly when selecting this option
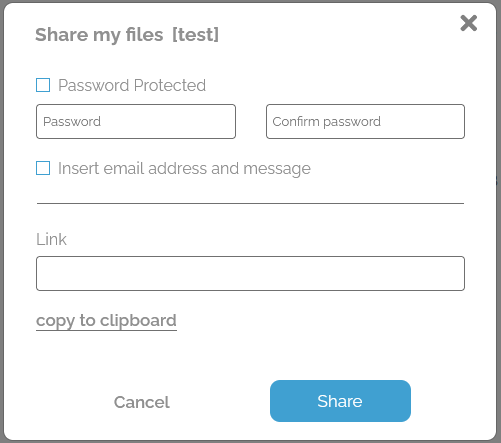
Click Share when done selecting the options for the shared file/folder. If email is selected an email will be sent to the recipient. You will also receive the share link for the data that you can manually send to the recipient you wish to share with.
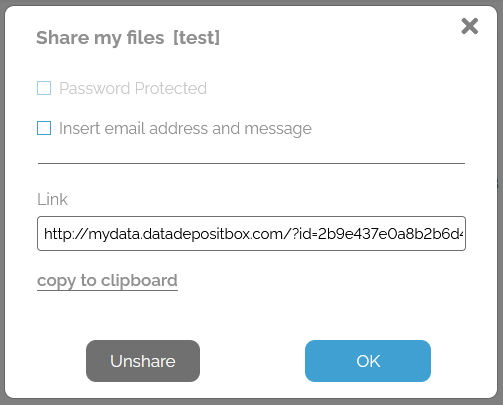
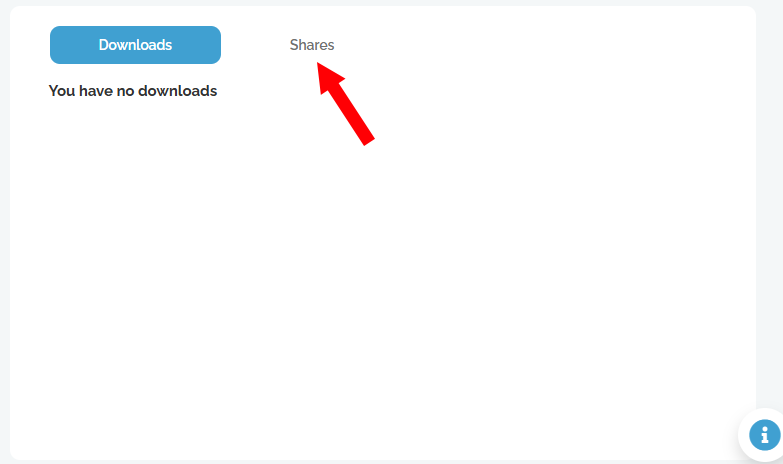
To the right of the Device Data there is a tab called shares.

If you click you will get the link to share and you can also click email to open your email app to email this link to your recipient.
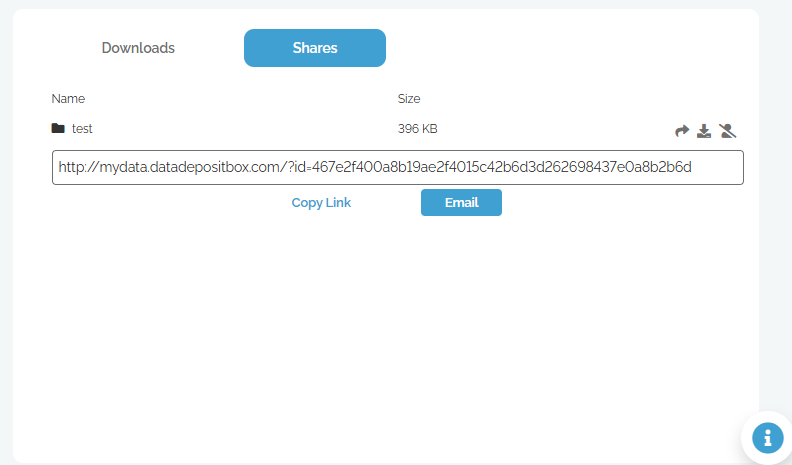
you will download the shared data to your device.
If you click this will unshare the data.
Delete Data
Select the files/folders you wish to delete by clicking in the checkbox next to each file. Click on the icon (Note: The
icon is located at the top of the My Files section.)
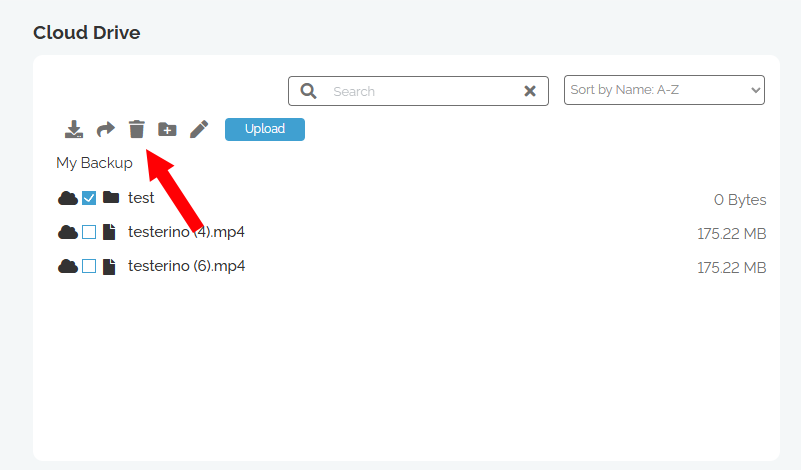
Once you have selected all the files/folders to be deleted and clicked the Delete icon, you can click on the Yes, delete button. If you have selected any file/folder by mistake, you can click on the next to it to remove it from the items to be deleted.